Using a Raspberry Pi as a NAS macOS Time Machine
— macOS, linux, pi — 2 min read
Update Nov 2021: Applied changes suggested by Alexis, Johnny, and Joel. Full changes are logged in the git history for this post. Thank you all.
I've now had a few months of reliable, consistent automated Time Machine backups accomplished via my Mac and Rapberry Pi 4B now, attached to a spare 1TB 2.5" USB 3.0 drive. Using the Pi 4B alongside some spare drives can give you a very versatile, cost-effective NAS and server.
Steps to set up
Prerequisites:
- Ensure your Pi is fully up to date
sudo apt-get update && sudo apt-get upgrade -y - Make sure the Pi uses a static IP on your local network (there are good guides on this, it is out of scope for this post)
- Install dependencies:
sudo apt install samba avahi-daemon hfsutils hfsprogs
Connecting and mounting the drive on the Pi
- Plug in your drive into a USB port on the Pi and get the drive UUID with
ls -lha /dev/disk/by-uuid. Make note of the drive reference and UUID- For the purposes of this guide, my drive reference will be
/dev/sda1and UUID is8c9d728a-54f3-4948-81ea-f0482c89fc73
- For the purposes of this guide, my drive reference will be
- Format our drive to HFS+ format:
sudo mkfs.hfs /dev/sda1 -v TimeMachineor use Gparted to repartition the drive and label itTimeMachine - Next, we want to auto-mount it to a designated folder, so run
sudo nano /etc/fstab - Add this line to the bottom of the file:
UUID=8c9d728a-54f3-4948-81ea-f0482c89fc73 /media/pi/TimeMachine hfsplus force,nofail,rw 0 0(if your username is notpi, edit this path to use your nane instead and do the same in subsequent areas) - Reboot, and now run
df -hand make sure your drive is present.sudo fdisk -lalso for a little more verbosity. Make sure everything looks good based on the specs of the drive.
Networking from Pi
- Install netatalk:
sudo apt-get install netatalk -y - edit nsswitch.conf
sudo nano /etc/nsswitch.conf- Line
hosts: files mdns4_minimal [NOTFOUND=return] dnsbecomeshosts: files mdns4_minimal [NOTFOUND=return] dns mdns4 mdns
- Line
- edit smb config:
sudo nano /etc/samba/smb.confand append
1[backups]2 comment = Backups3 path = /media/pi/TimeMachine4 valid users = pi5 read only = no6 vfs objects = catia fruit streams_xattr7 fruit:time machine = yes- edit file:
sudo nano /etc/netatalk/afp.conf
And append
1[Global]2 mimic model = TimeCapsule6,1063
4[Time Machine]5 path = /media/pi/TimeMachine6 time machine = yes- Launch services
sudo service avahi-daemon startandsudo service netatalk start
Find the Time Machine server on your mac
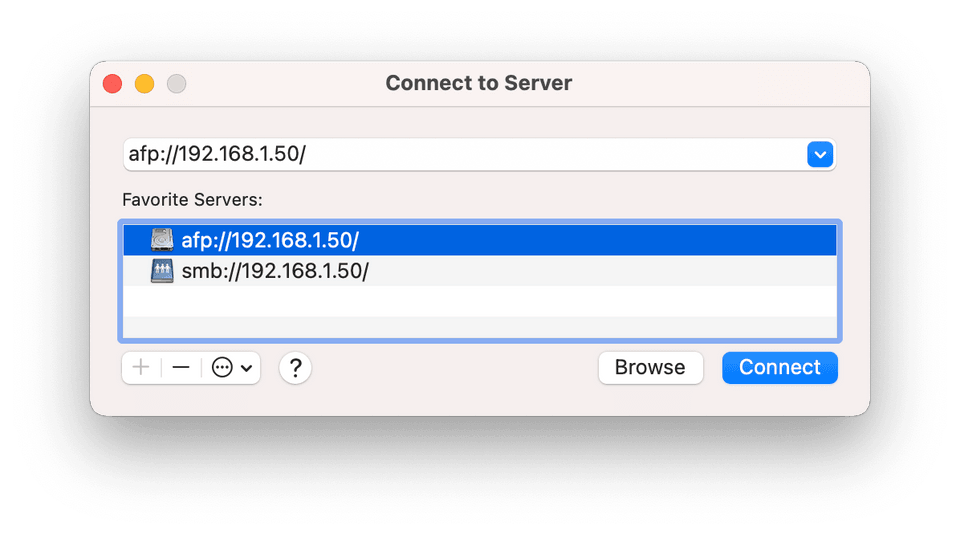
- Let's verify the drive is being properly shared. Go to Finder > Connect to server
- Enter
afp://192.168.1.50/(use the local static IP for your pi instead though) - You should be prompted for your pi login info
- Enter

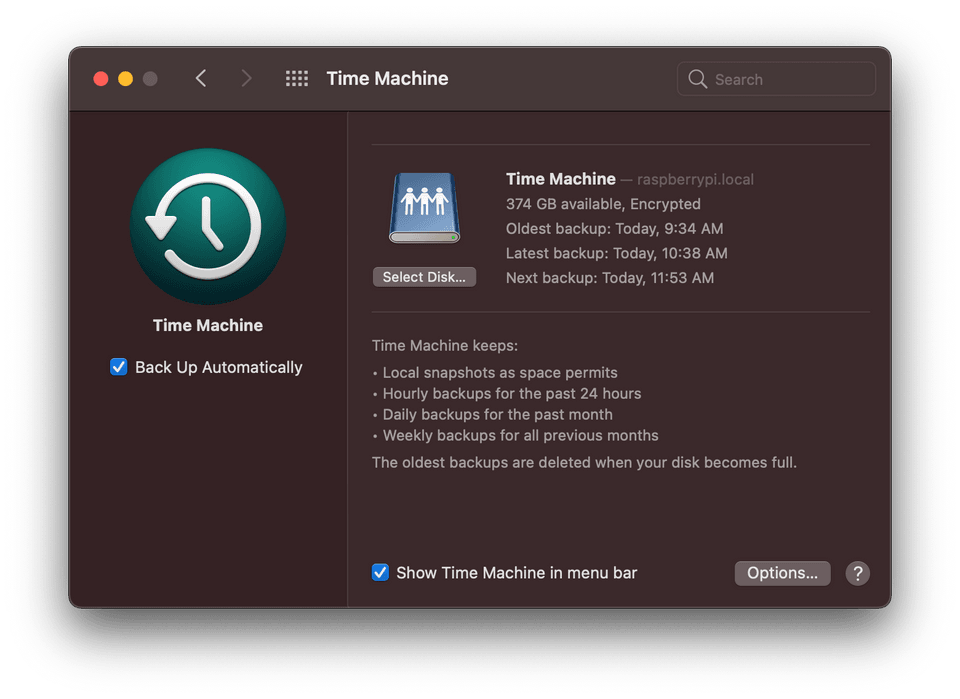
- Go to System Preferences > Time Machine
- Select Disk > find your Disk
- You'll be prompted to log in again with your pi user
- It would be wise to encrypt your backup when macOS asks you here, since it will be plainly readable on the external drive otherwise
And that should do it!

Troubleshooting
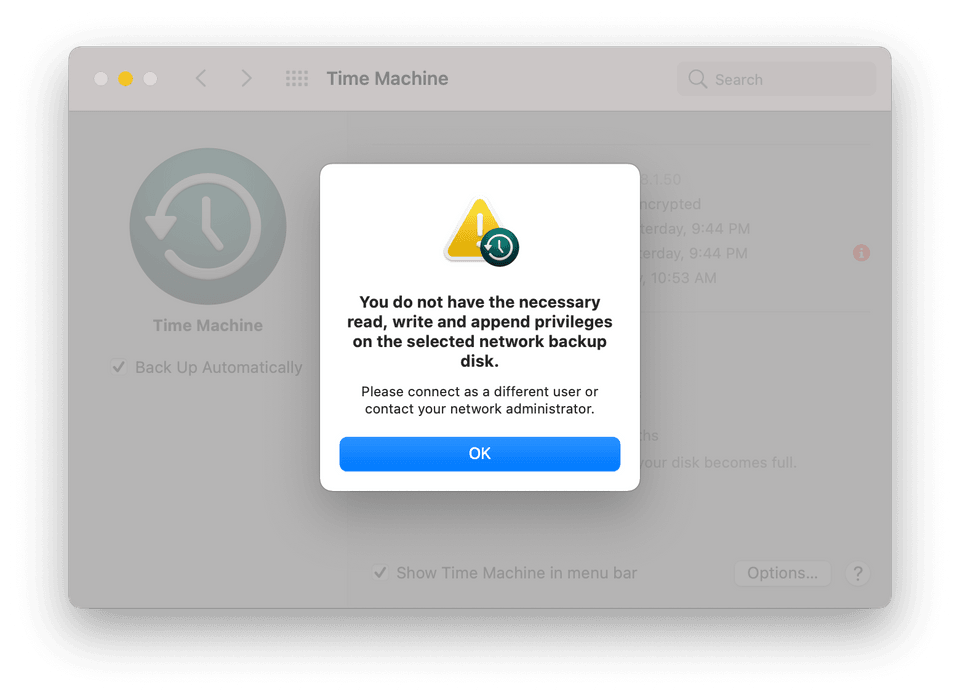
Drive appears read-only

- Set drive permissions (such as
sudo chown -R pi:pi /media/pi/) - Alternatively, delete the above mount-point directory (
sudo rmdir /media/pi/TimeMachine) and reboot (this fixed an issue for me that chmod did not)
General drive unreliability
- Ensure above permissions are set, and also verify disk integrity ---
sudo fsck.hfsplus -f /dev/sda1(or simply re-format)
TimeMachine does not find drive
- You can configure the timemachine through the CLI instead
- You must first allow terminal full disk access to your mac - see this guide for more help
- The following command will ask you for both your laptop admin password AND your raspberry pi password1sudo tmutil setdestination -ap "afp://pi@192.168.1.50/Time Machine" # (use the local static IP for your pi instead though)
Similar guides to try if this fails (this guide is a mashup of these two, with some sprinking of edited commands)
Gregology's Raspberry Pi Time Machine -- this guide is most similar to this one, but uses ext4 instead of hfsplus
Mudge's Using a Raspberry Pi for Time Machine -- uses ext4 and smb as a protocol, and other steps look good but I couldn't get the macOS Time Machine service to find it
